Using the Attachment Tab for WooCommerce plugin, you can easily attach unlimited attachments to any WooCommerce product.
Step 1: Navigate to product page
Go to any WooCommerce product page (add/edit mode). Now, at the bottom of that page, you will see the Product Attachment Settings panel, like in the following screenshot.
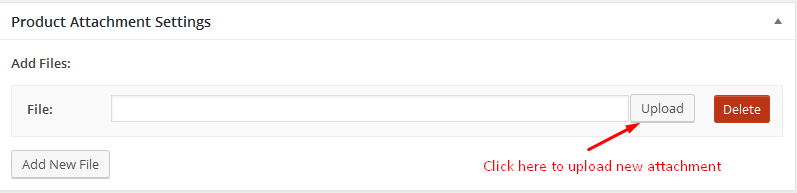
Step 2: Attach A New File
Now, click the Add New File button, and a modal window will pop up. Just click on the file you need to attach and click the “select” button.

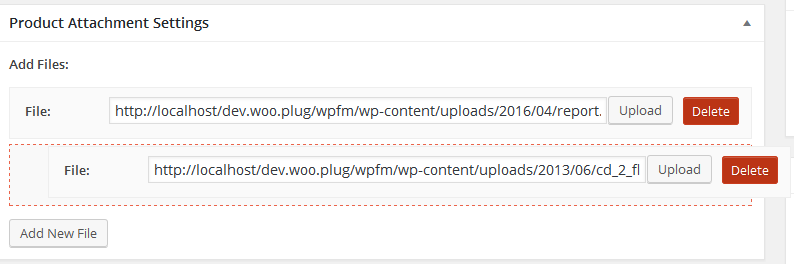
Step 3: Sort The Files
By utilizing the drag-and-drop functionality, you can organize the files in accordance with your specifications.
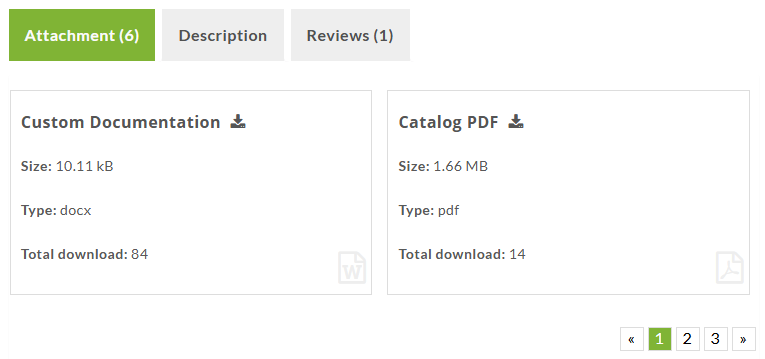
Step 4: Result of Attachments
Step 04
Lastly, click the Publish/Update button to save all the changes. On the product page, you will see the output, as seen below.
Plugin Documentation: https://xenioushk.github.io/docs-wp-plugins/atfc/index.html#add_attachment_to_product