One of the most well-known markup languages in the world is Markdown, a compact markup language that John Gruber created in 2004. Generally, a markdown file is used for writing quick documentation for any project. You can also host that markdown file on Github or Gitlab for other users. In this tutorial, I will show you how to quickly create a markdown file on Visual Studio Code Editor and check the output while editing the markdown code.

Source: https://github.com/xenioushk/bwl-photo-browser-app
Markdown file editing on visual studio code
Step 1: Open the Visual Studio Code editor.
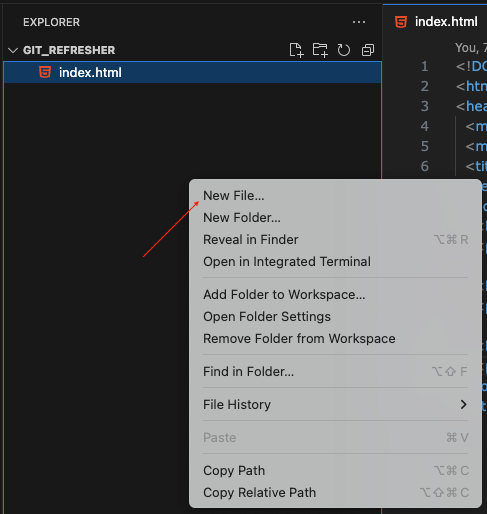
Step 2: Next, right-click on the project files area, and you will see options to create a new file. Click on the New File and name that file as “README.md”.
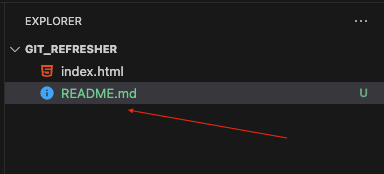
Step 3: Now, our “README.md” file is ready to use.
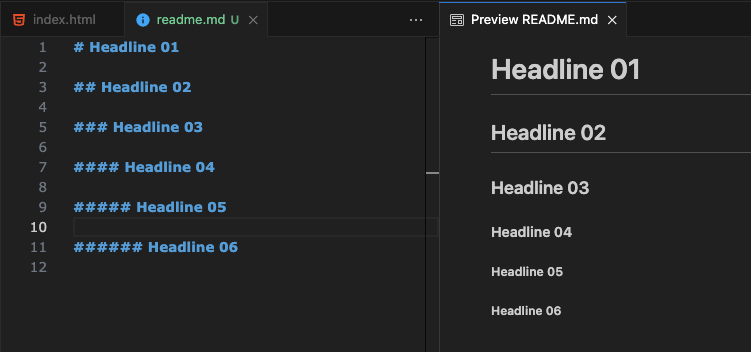
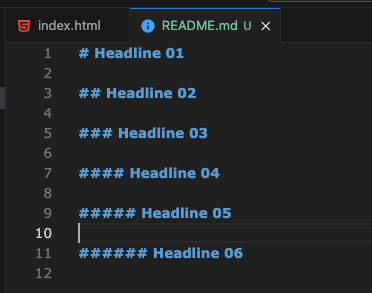
Step 4: Next, we are going to write the first headlines (h1 to h6) code into that file. Save the file.
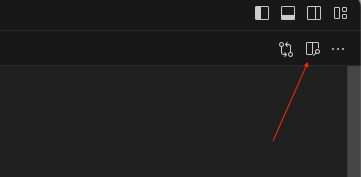
Step 5: On the right corner of the editor, you will see an icon like the following screenshot. Click on it.
Step 6: You will get an output like this example image.